Safety first!
Make sure you are wearing appropriate safety protection throughout the entire process.

STEP 1: Preparation
Mark out the area of the driveway or patio with spray paint or string.
Locate any gas pipes, electricity cables or broadband cables etc. using a CAT and Genny scanner. Avoid these areas when excavating!
STEP 2: Excavation
Excavate 200-250mm below the planned level of the driveway.
This allows for 100-150mm sub-base, 40mm sand bed and 50mm blocks.
Any soft areas of ground should be excavated and filled with compacted sub-base.
Drainage should be installed after excavation.

STEP 2: Excavation
STEP 3: Sub-Base
Lay a sub-base, measuring at least 100mm once spread, leveled and compacted. The sub-base must be level, and any dips or soft areas should have been leveled off before the sub-base is laid.
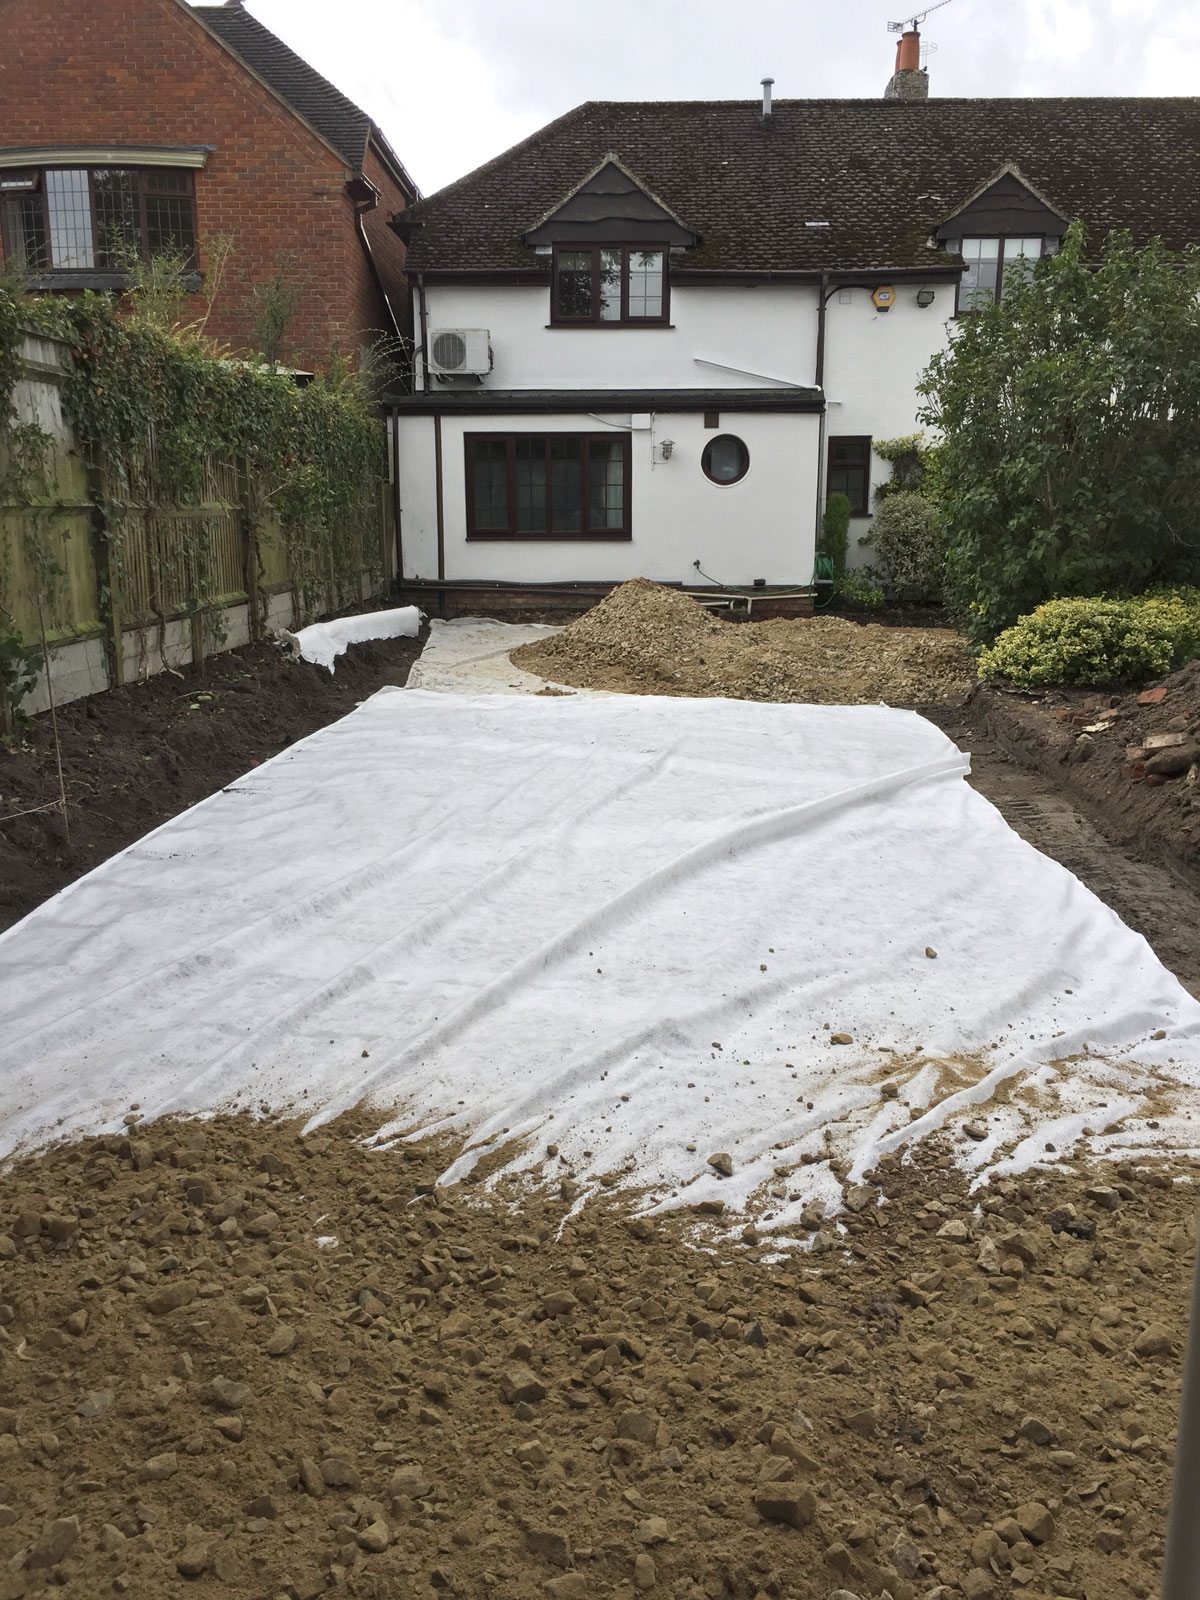
A geo-membrane can be laid before the sub-base. A geo-membrane is a good idea if there is likely to be soft sub-grade (the ground you are laying sub-base on), for example if the sub-grade is clay like. It prevents the sub-grade from being pushed deep into the sub-grade. A geo-membrane can also be used if heavy traffic is expected on the driveway.
STEP 4: Edges
Lay out blocks on your pre-prepared edges beforehand to ensure edging is correct. Blocks should then be fixed using a minimum of 75mm concrete. If a kerb is needed, please see the kerb section.
STEP 5: Sharp Sand
Spread, level and compact sharp sand so that it measures to 25-40mm. The sand must be smooth and even. At New Driveway Company we compress the sand with a wacker plate before screeding the sand with a screeding tool.

STEP 4: Edges
STEP 6: Geo Membrane
Lay a weed proof terram on top of the sharp sand to stop weeds growing up through the sand and into the blocks.
STEP 7: Laying Blocks
Randomise blocks by taking blocks from alternate batches. The blocks are laid by hand in an agreed pattern (see below) on top of sharp sand. The sharp sand must not be walked on during the laying of the blocks.
Popular block patterns are shown below.
STEP 8: Alignment of Blocks
Use a string line across along the diagonal or horizontal Sharps of the blocks to check that they are straight and aligned properly. Use an alignment bar tool to correct any blocks.
STEP 9: Cutting In
Blocks can be cut with a block splitter or a mounted saw. Cut the blocks to fit in with the edging and already laid main area of blocks.
STEP 10: Jointing
Once the cutting in is fully completed, spread kiln-dried jointing sand over the block surface and sweep in the joints.
STEP 6: Geo membrane
STEP 11: Compaction
Compact the blocks using a wacker plate. The wacker plate should pass over each area of blocks 5 times, compressing each area from a different direction each time it passes over. A cushioning mat may be required on more fragile blocks. Sweep any excess jointing sand off the driveway.
STEP 12: Sealants (Optional)
A sealant can be applied to the driveway to enhance the appearance of the driveway. Sealants can come in a matte and vinyl finish. Whether a sealant is applied to the driveway or not is purely down to customer preference.
BLOCK PAVED DRIVEWAYS AND DELIGHTED CLIENTS
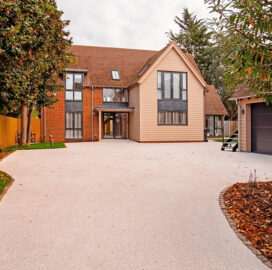
Porcelain Patio, Tarmac and Resin Driveway Abingdon
“The finished job exceeded my expectations and has transformed my outdoor space. I highly recommend New Driveway Company for delivering such a high-quality result.”
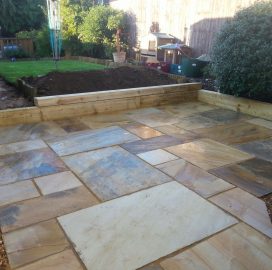
New Patio Abingdon Oxfordshire
The New Driveway Company was asked to create a new patio using Indian sandstone. We also created a step up to the lawn area and retained a small flower border for this property in Abingdon Oxfordshire.

New Block Driveway & Walls, Henley-On-Thames, Berkshire
“Would I recommend the New Driveway Company? I already have!”

Non-slip Gravel Driveway & Paths, Wallingford
This elegant, classic period home was worthy of an impressive driveway that would enhance its historical roots.

Garden Landscaping Wantage, Oxfordshire
New block paving driveway, gravel car park, Indian Sandstone patio for Ella and Sam in Wantage, Oxfordshire.

Gravel driveway with new wall in Surbiton
This Surbiton home was given a fresh contemporary gravel driveway, complete with wooden wall and rustic block paved border.
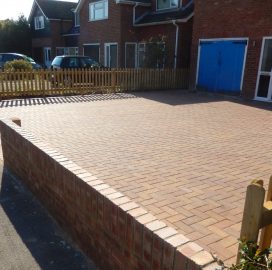
New Driveway, Fencing and Wall, Didcot, Oxford
“Well presented and professional.”
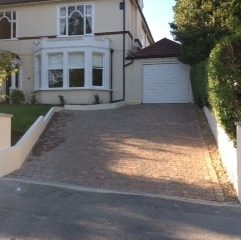
New Driveway and Retaining Walls, Paul Hitchin, Purley, Surrey
“Supportive, courteous, delivering a superb product.”
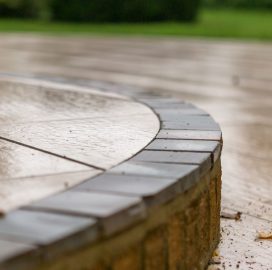
New Patio and Retaining Wall, West Hagbourne, Oxfordshire
The New Driveway Company was asked to create a large patio area at the rear of this property in West Hagbourne, Oxfordshire. The patio had to be a focal point for the house and the client wanted to create a space with a real wow-factor.
FREE SITE VISIT & DESIGN - NO COMMITMENT!
Get your FREE estimate or call us on 01865 341000 - our phone lines are open Mon-Fri 8am to 5pm.
BETTER LANDSCAPING, BY DESIGN
We take time to fully understand what you want from your space before presenting you with professionally designed options for your landscaping design project. You get to see what your outside space could look like before making any decisions.
"The service from beginning to end was faultless. The expertly drawn-up plans fulfilled the brief and the end result was exactly as we expected. I wholeheartedly recommend the New Driveway Company."
Tony C - March 2023
Site Meeting

Detailed Plans

3D Visuals (optional extra)